Our friends over at Acetech Airsoft sent us over this sweet little chrono to do a review on! They only had dull 3D renders of this product on their website, so I wasn’t quite sure what to make of it.However when we received it, it turned out to be a completely different impression.
Overall
One of the biggest issues we had with chronos would have to do with unregistered shots. If the bb isn’t shooting perfectly straight through the chrono usually we had an error message. We were using these stupid little chronos that had those terrible calculator screens with orange back light. They looked quite ugly, powered on and off very slowly, and the hole to shoot through was too small. Complain, complain, complain.. BUT at least it got the job done.
Now we have the Acetech Chrono, the “AC6000 BBs Shooting Chronograph.” This thing features a beautiful black and white LCD display with a very large diameter hole. What we like about this one is the obvious improvement on the size of the hole, which would make it much easier to shoot through.
Build Quality
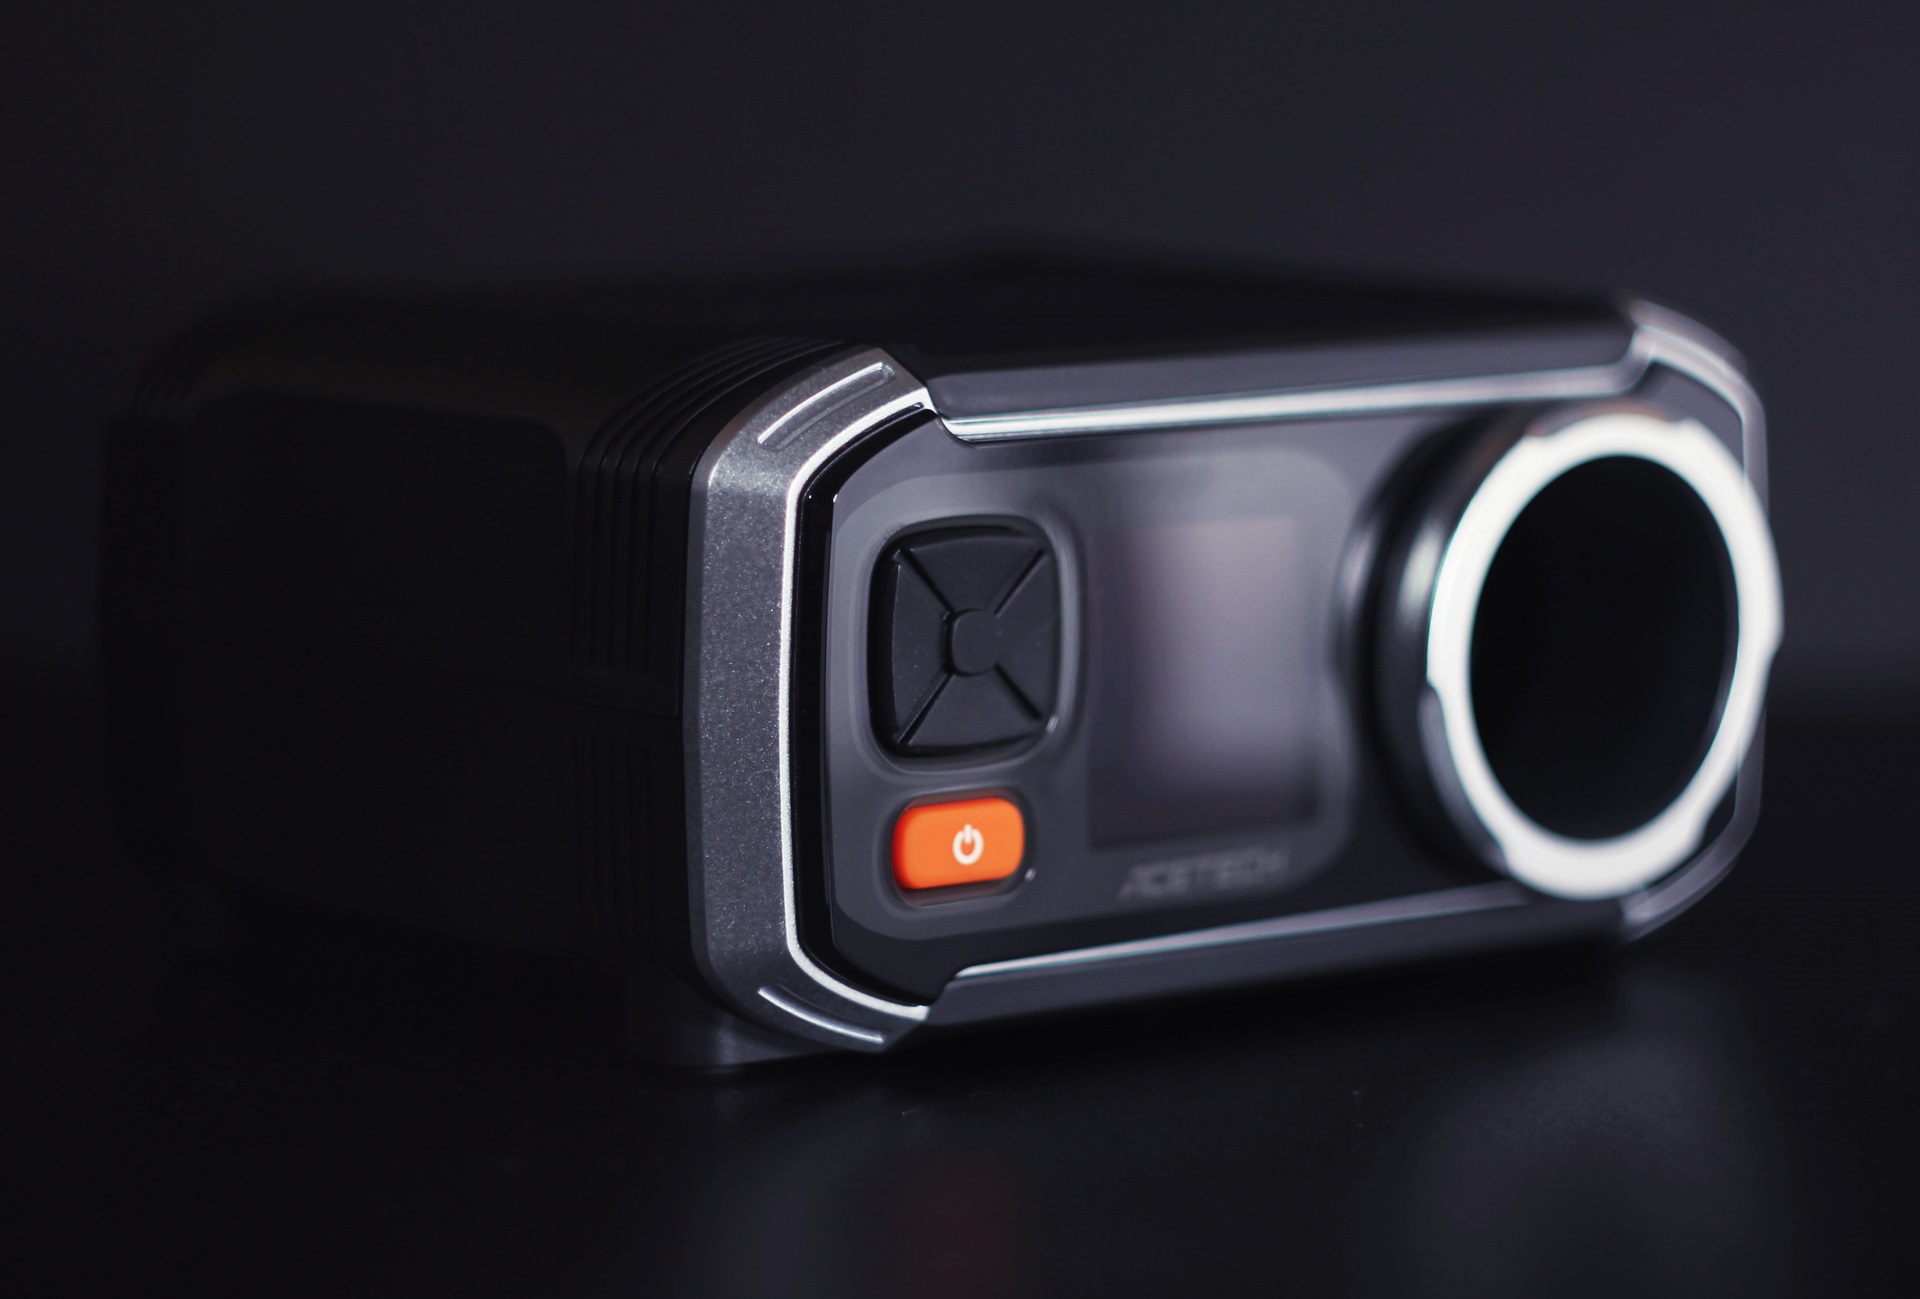
The build quality on this is very nice, from the beautiful front frame to the nice screen. However there are a few quirks about the design that we really didn’t like. The directional pad on this is very clumsy. It has nothing to do with the directions themselves, but rather the selection button in the middle.
When we first turned this thing on, one of the first tasks we needed to do was to change the measurements from meters to feet per second. Navigating through the menus was not hard at all, but it was pressing that middle button that brought about the most frustration, as even slightly being off from that touch would cause the pad to register a “down” or “up” motion instead. However, once we had it set we really didn’t need to touch it again.
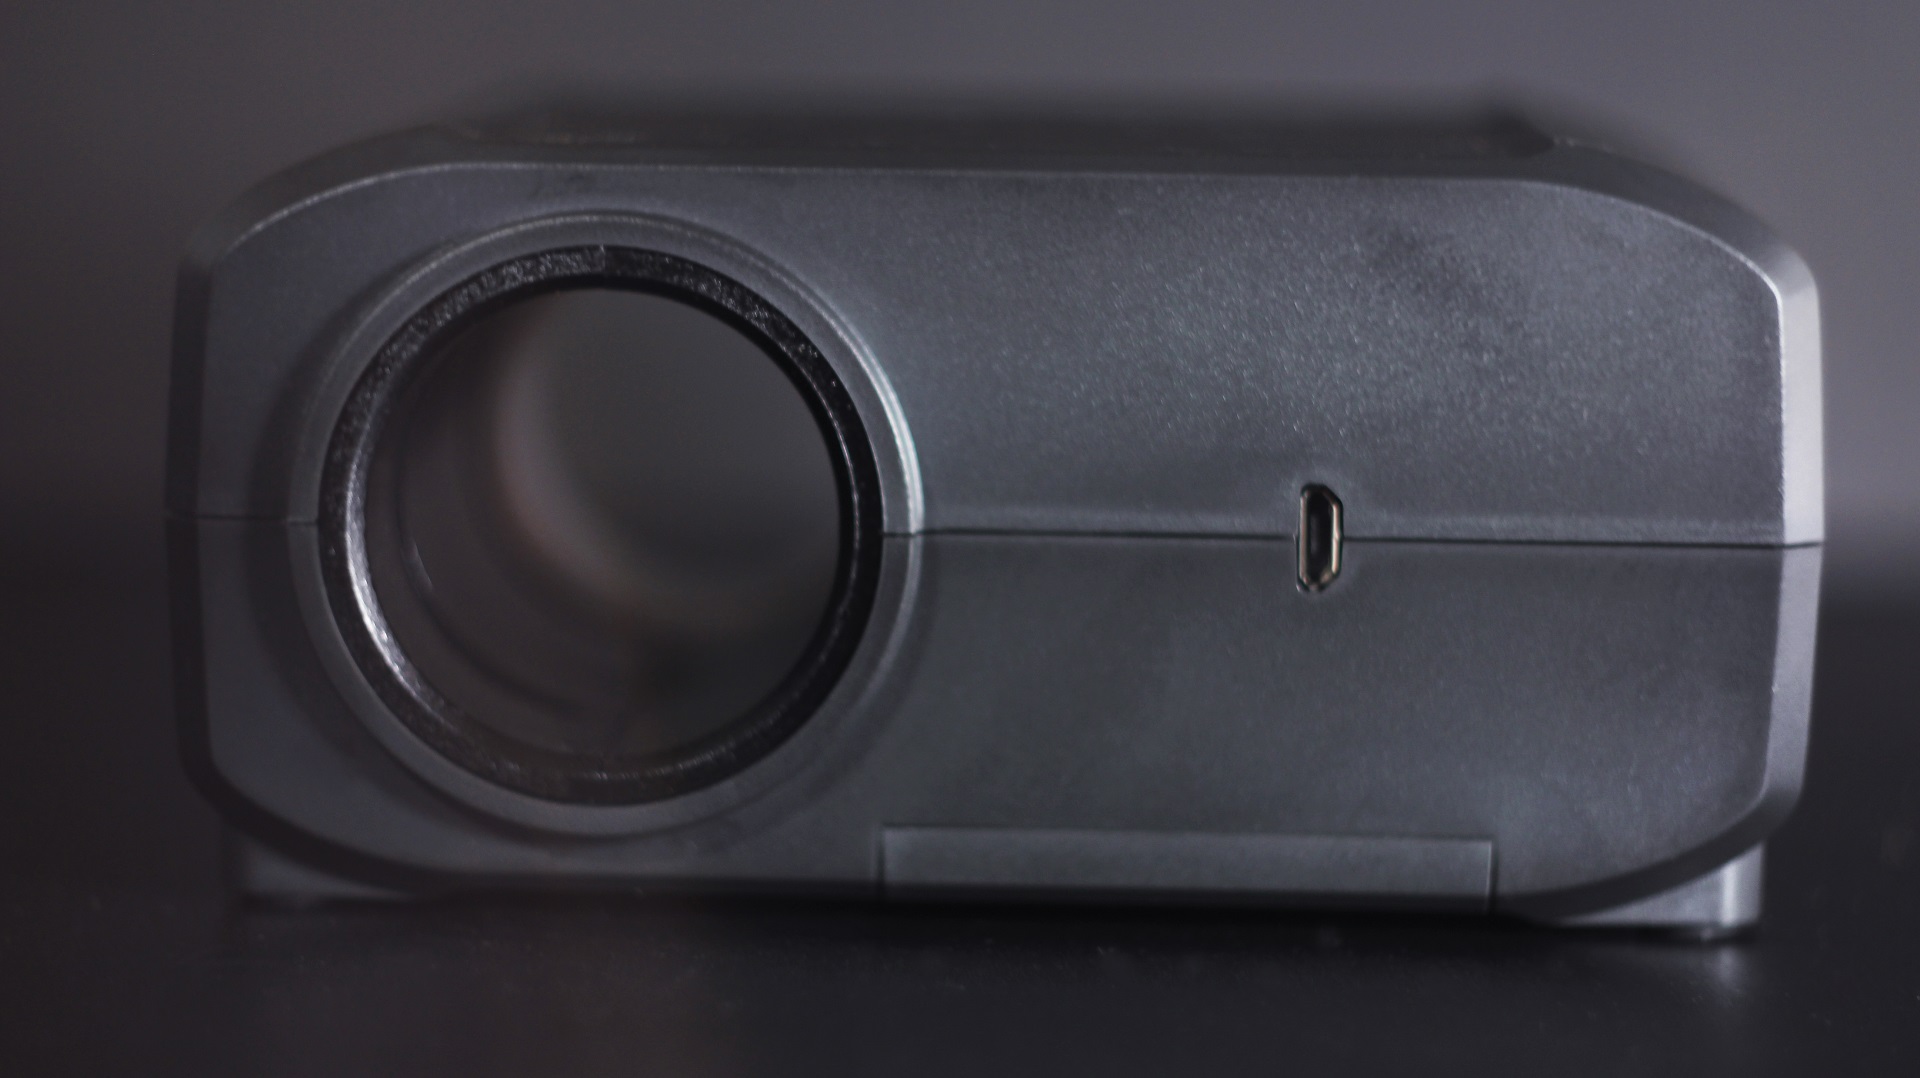
There also appears to be an unsightly seam line running along the outer perimeter of the device. However this isn’t too much of an issue as the front of the device is what you would mainly be looking at, it does cheapen the whole look and feel of it from any other view. Notice our beauty shots are mostly of the front of the chorno.
There appears to also be some sort of micro USB plug on the back, not really sure what that is for, perhaps recharging the batteries? Though the batteries we used in it were not rechargeable.
Set Up
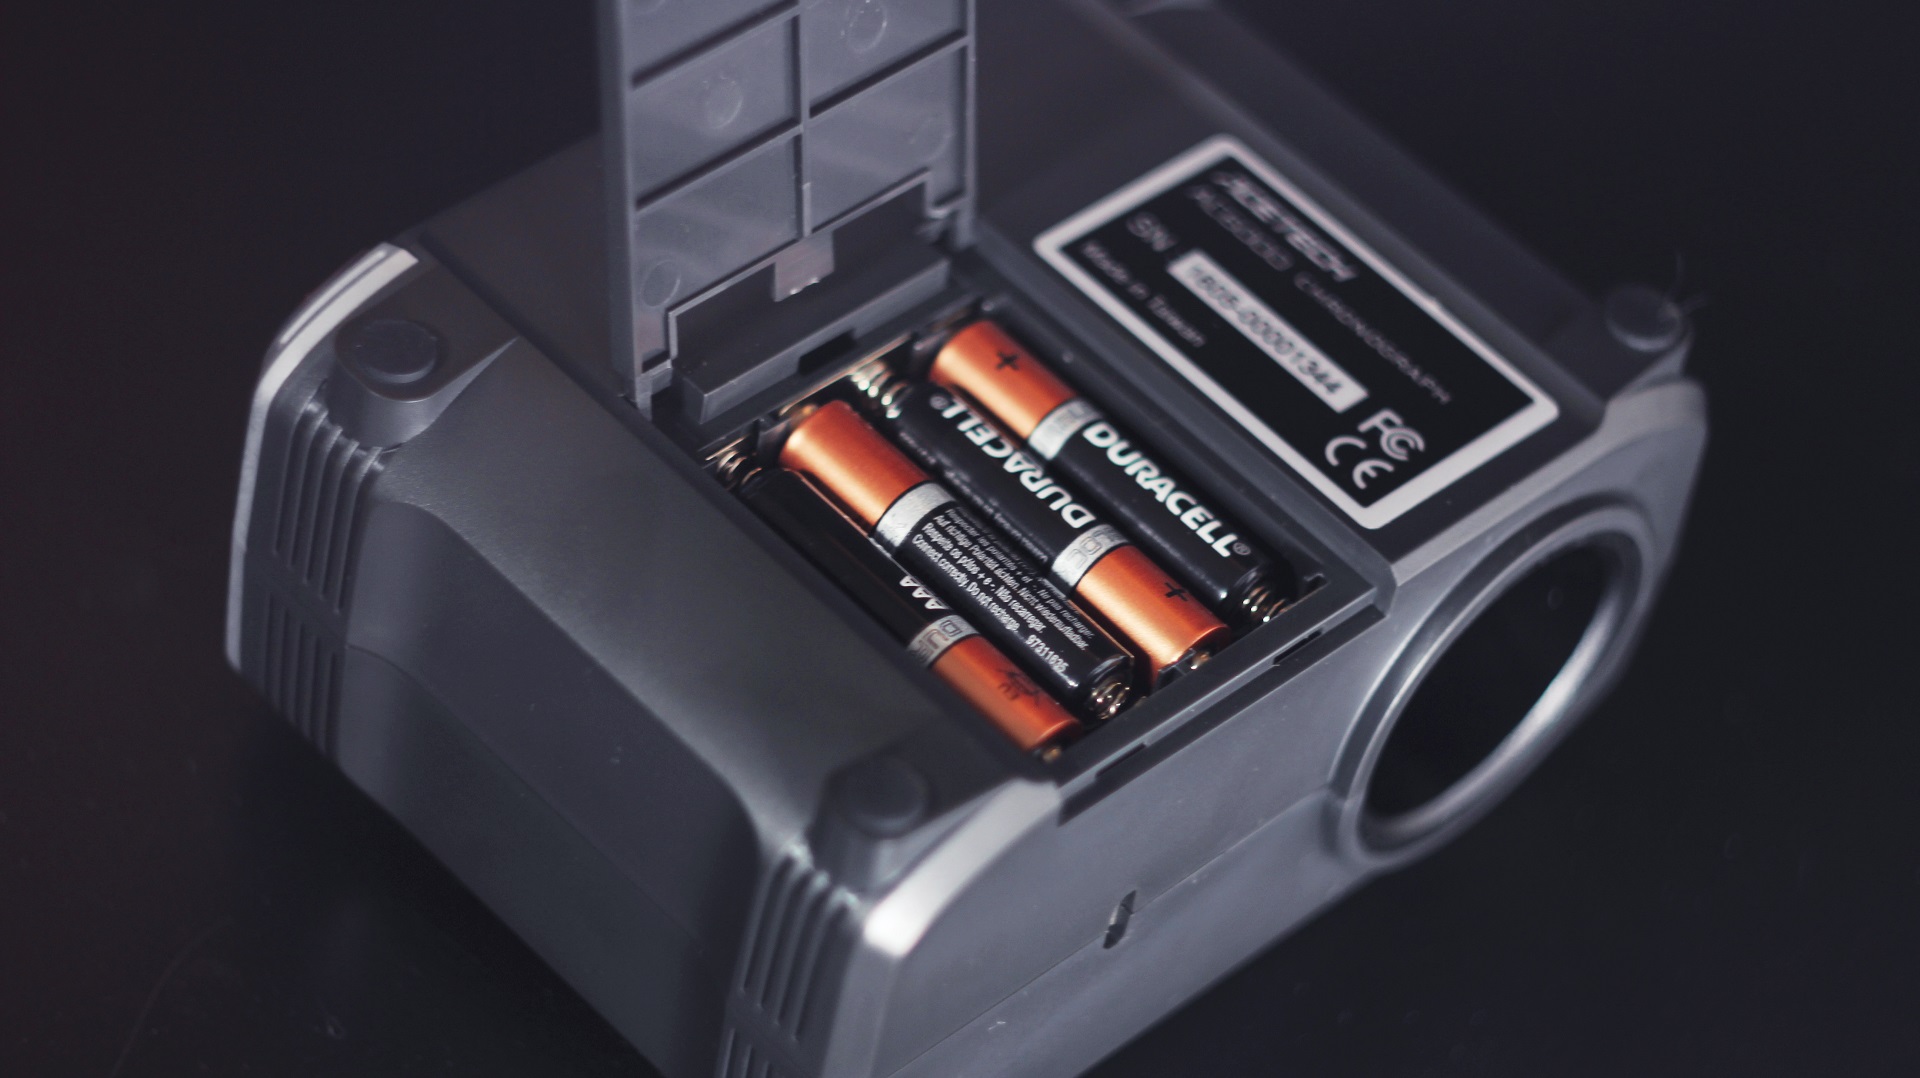
There isn’t any set up required for this chrono really, just pop in 4 AAA batteries and turn it on. Other than converting the measurements to your desired measurement, this thing is pretty much ready to go!
Conclusion
Overall this is a massive upgrade from our previous chrono, and that chrono, at the time went for about $120. Times are changing and tech is getting cheaper to make. This chrono is really not bad at all, in my honest opinion I can say that this will probably be something we’ll be using for future reviews!
We do recommend this to anyone who has a crappy chrono, this is a much needed improvement. We have only owned this for about 1 week, so only time will tell how this will last, but so far we’re loving it!