Field stripping a 1911 is not very difficult once you know how to do it.
That being said, field stripping a short 1911 can be a bit more tricky!
Step 1 – Check It
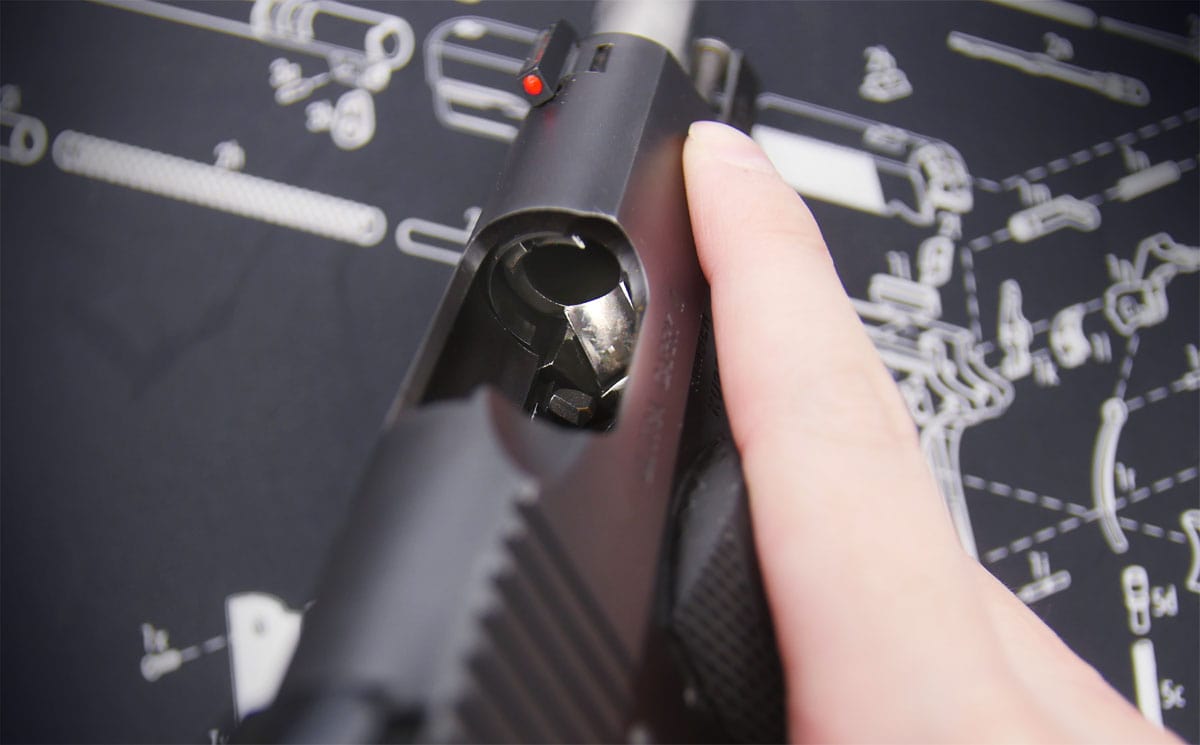
You should know this by now.
Step 2 – Lock the Slide Back
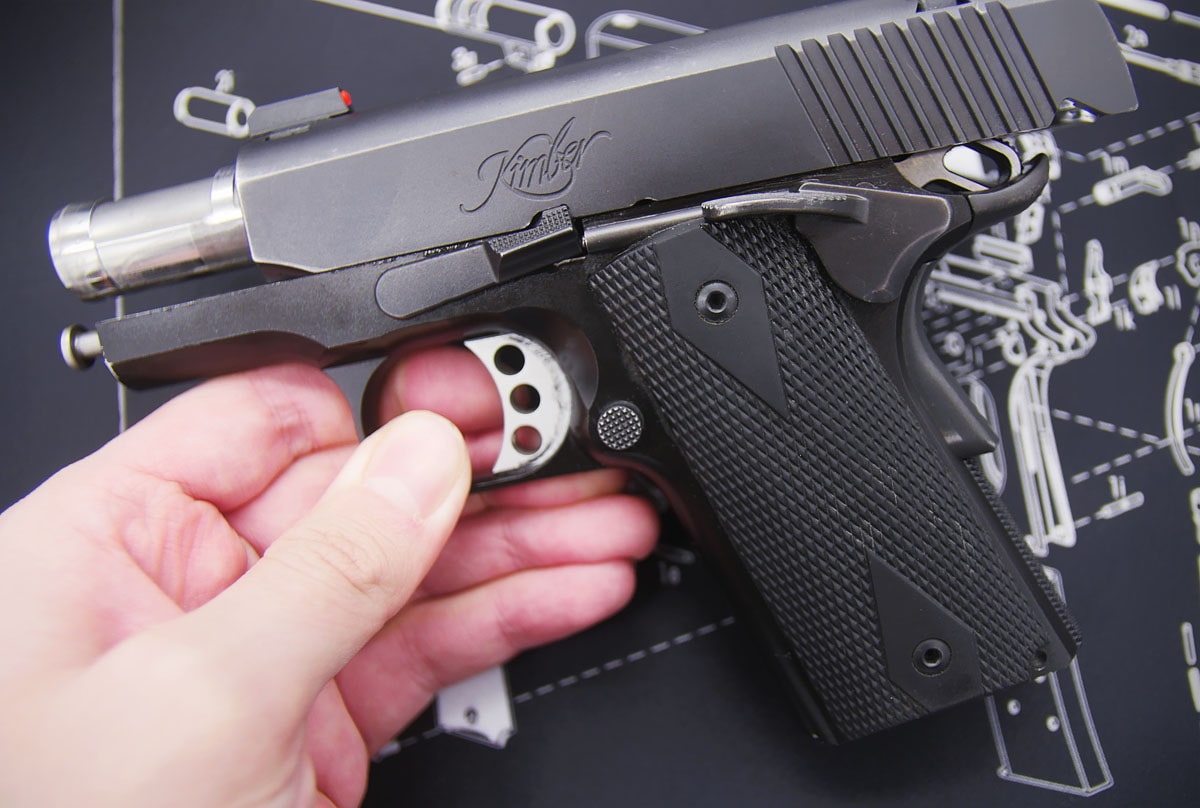
We’re going to need to lock the slide back in order to show you a few options on how to take this gun down.
Step 3 – Choose Your Adventure
The hardest part of the field strip is dealing with the recoil spring, especially on a short 1911, that spring is snappy!
You can choose 1 of 3 methods:
Method #1 Hard – Do it all by hand. (This is how I did it when I first got this gun, good luck!)
Method #2 Medium – Use the included “paperclip” tool. (I never knew what it was for until someone showed me!)
Method #3 Easy – Use this convenient NDZ Long Takedown Tool! (NDZ hooked me up with this awesome tool!)
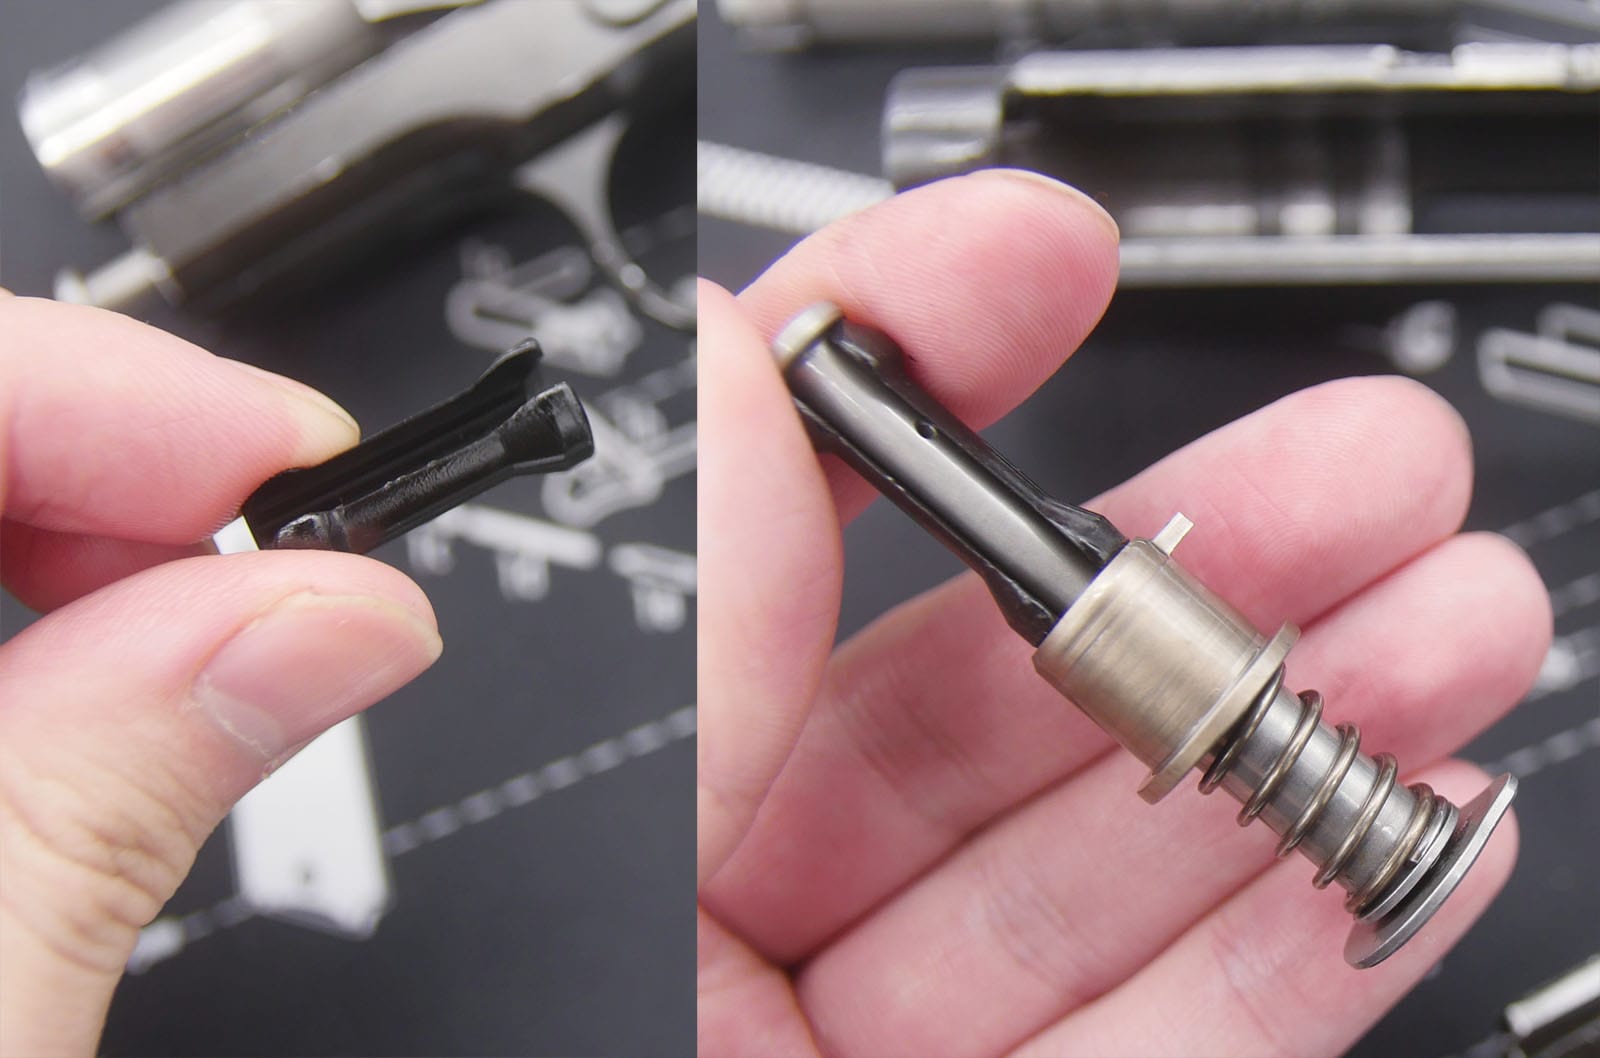
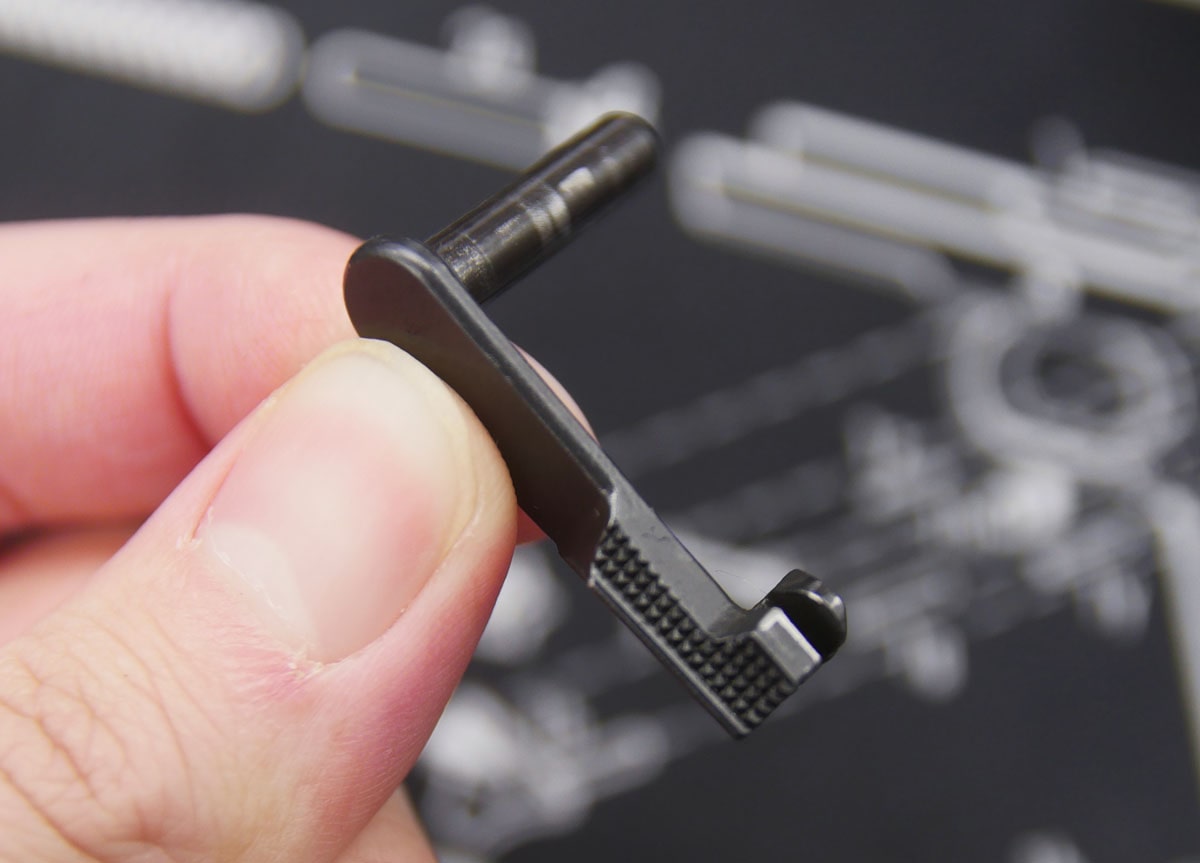
What is the “Paperclip” Tool?
The “paperclip” tool is this metal rod that comes with the Kimber Ultra Carry II. Check behind the foam in the box it comes in.
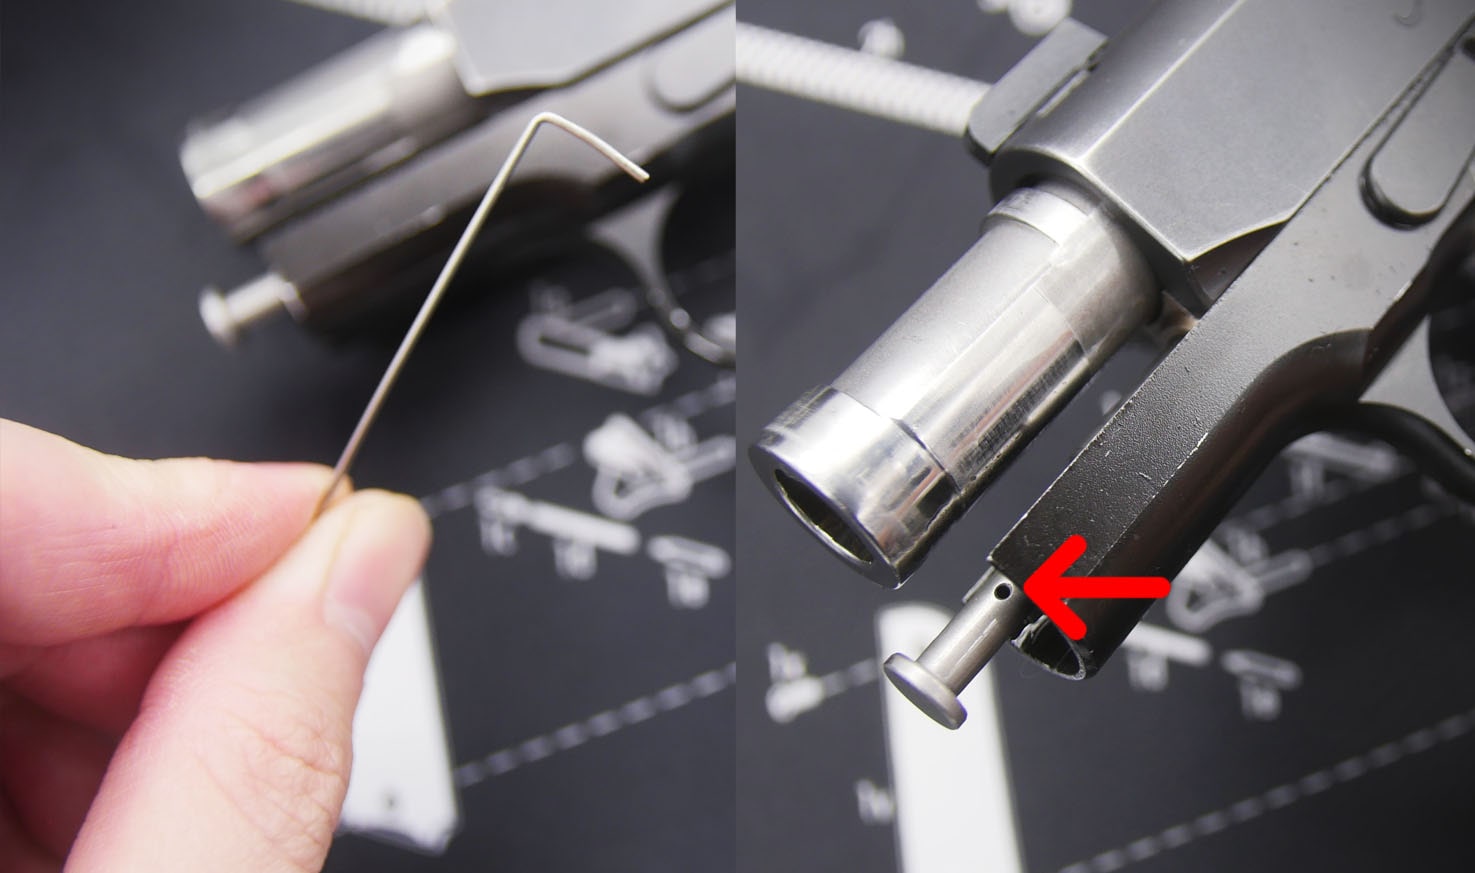
Ironically, half of the paperclips in my office don’t even fit in this hole, so make sure you don’t lose this tool!
The purpose of this tool is to lock or “capture” the recoil spring, therefore eliminating the pressure you would normally have to deal with.
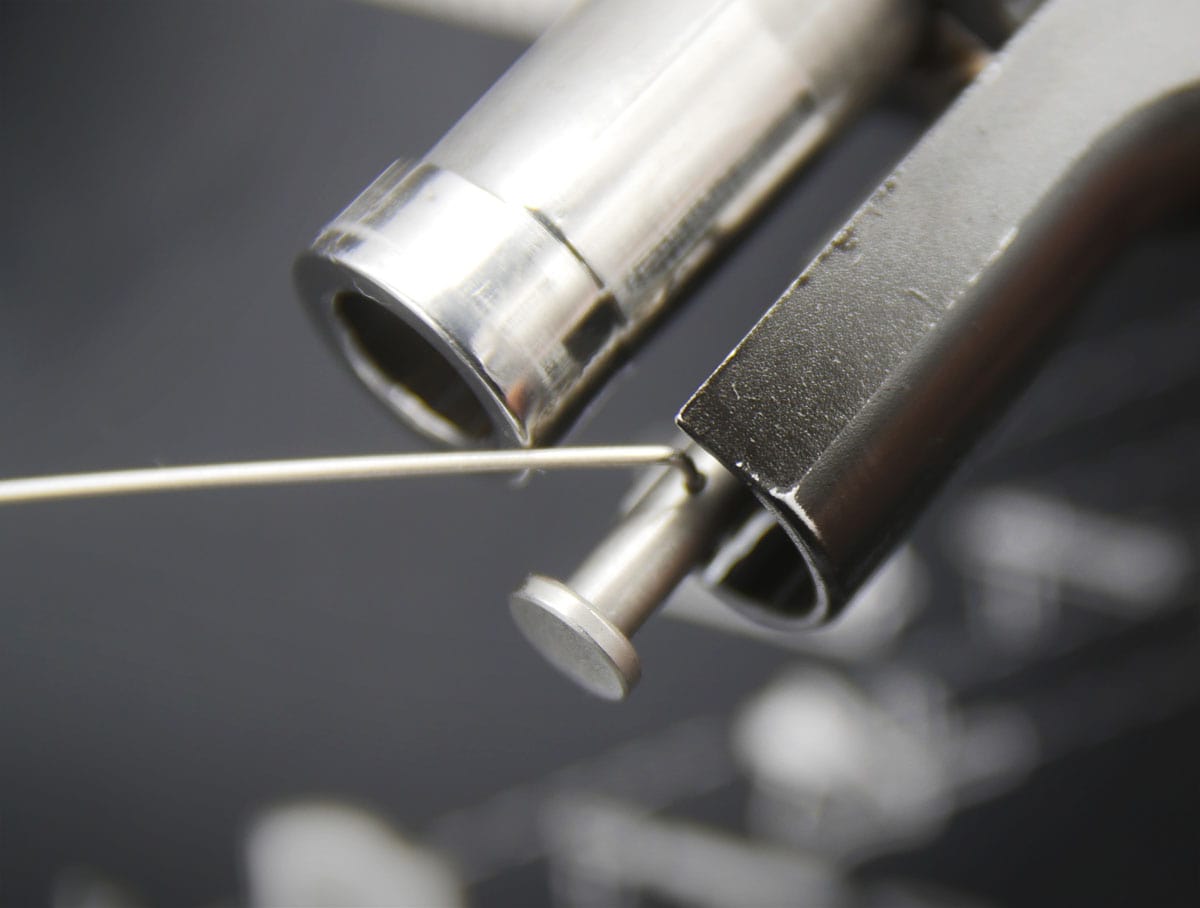
It makes taking down the gun a lot easier.
Why The Paperclip Tool Sucks
This tool is certainly better than doing it by hand, but there are a few reasons this tool still sucks.
1. It doesn’t perfectly align the slide with the take down pin; meaning that you still have to maintain strong pressure on the gun while pulling out the slide lock pin.
2. The tool itself often times gets in the way of actually removing the recoil rod without constant adjustment (you’ll see ahead.)
What is the NDZ Long Tool?
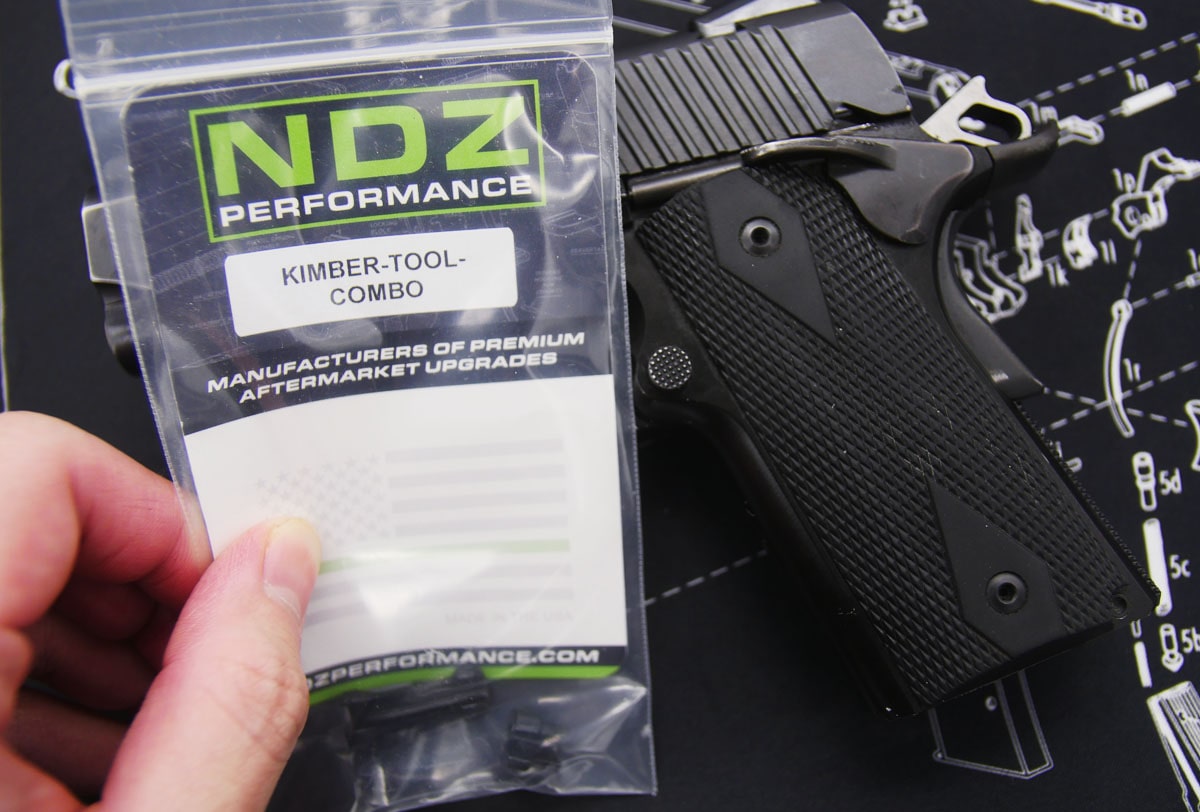
The NDZ Long Kimber Takedown Tool is one of my favorite tools for this gun.
*Yes, we received it for free from NDZ, but that doesn’t impact my honest opinion about this thing.
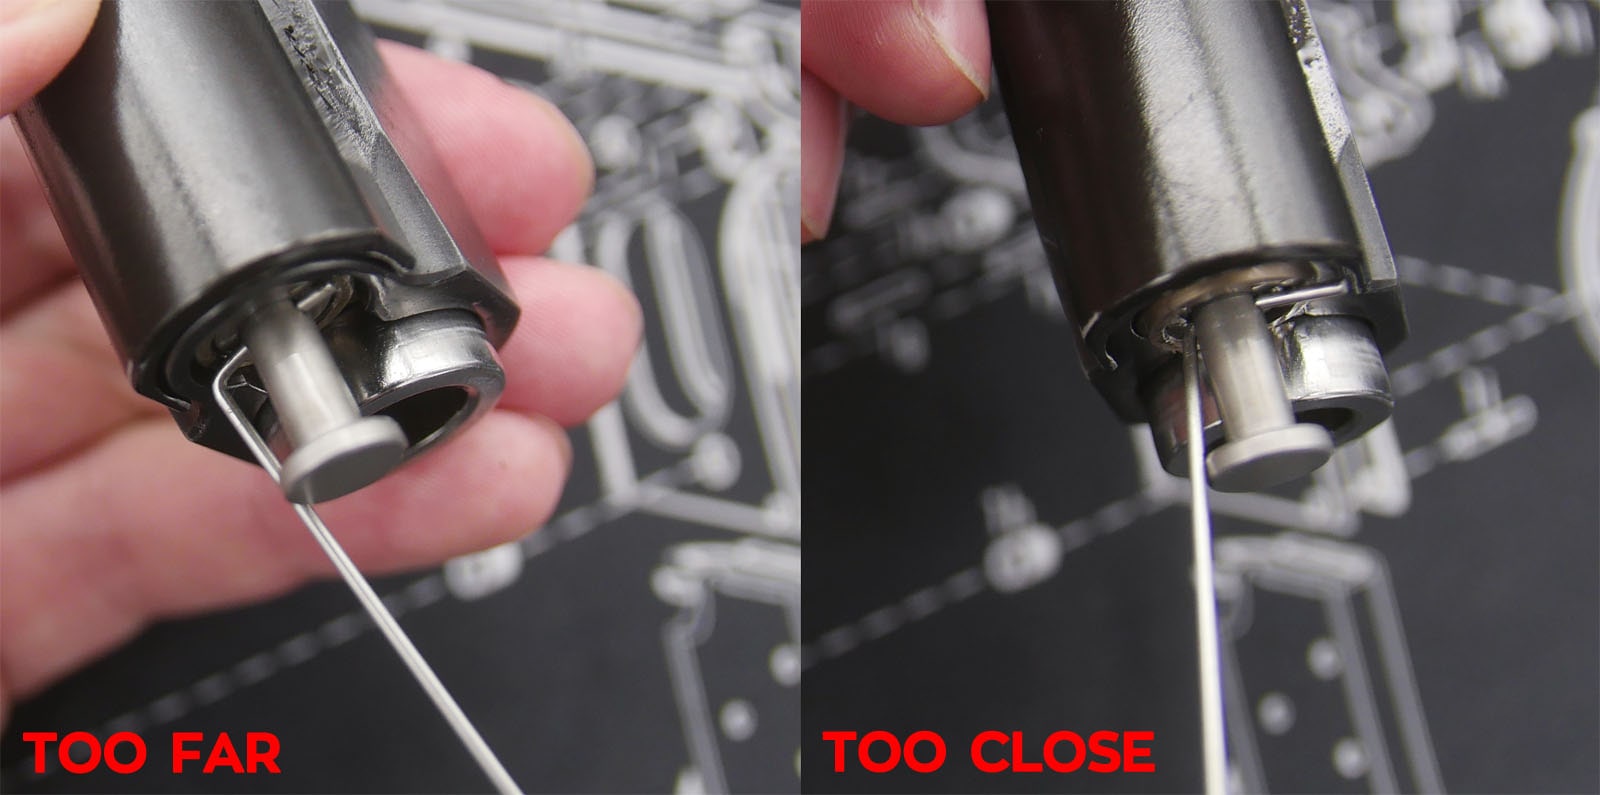
Having used the “paperclip” tool for years, I am amazed that NZD made a tool that perfectly aligns the slide with the take down hole in the slide.
With the paperclip tool you still have to pull the slide back to remove the take down pin, so it doesn’t actually make this part of the take down any easier!
Even though the tool is made of plastic, it seems strong and can handle the weight of the spring. It didn’t fly off when I used it! (This was actually one of my main concerns with this tool.)
My kit came with both a long and short tool, but I have to say the long tool definitely makes this easy!
In my opinion, the short tool is convenient as a backup to keep in a different bag or case and works nearly as well as the paperclip tool (without getting in the way).
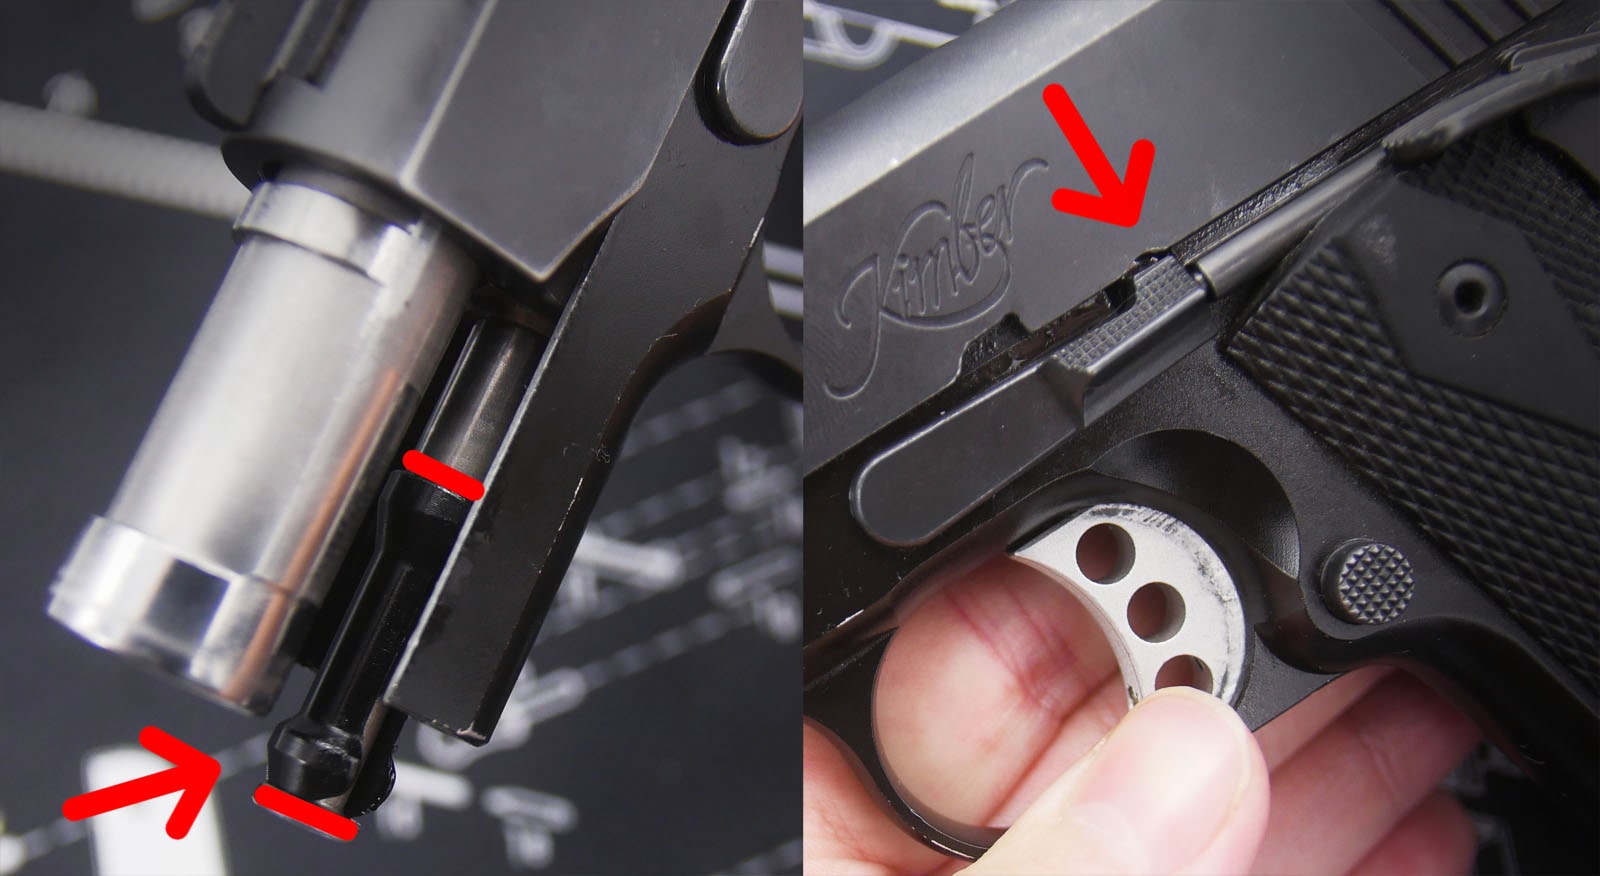
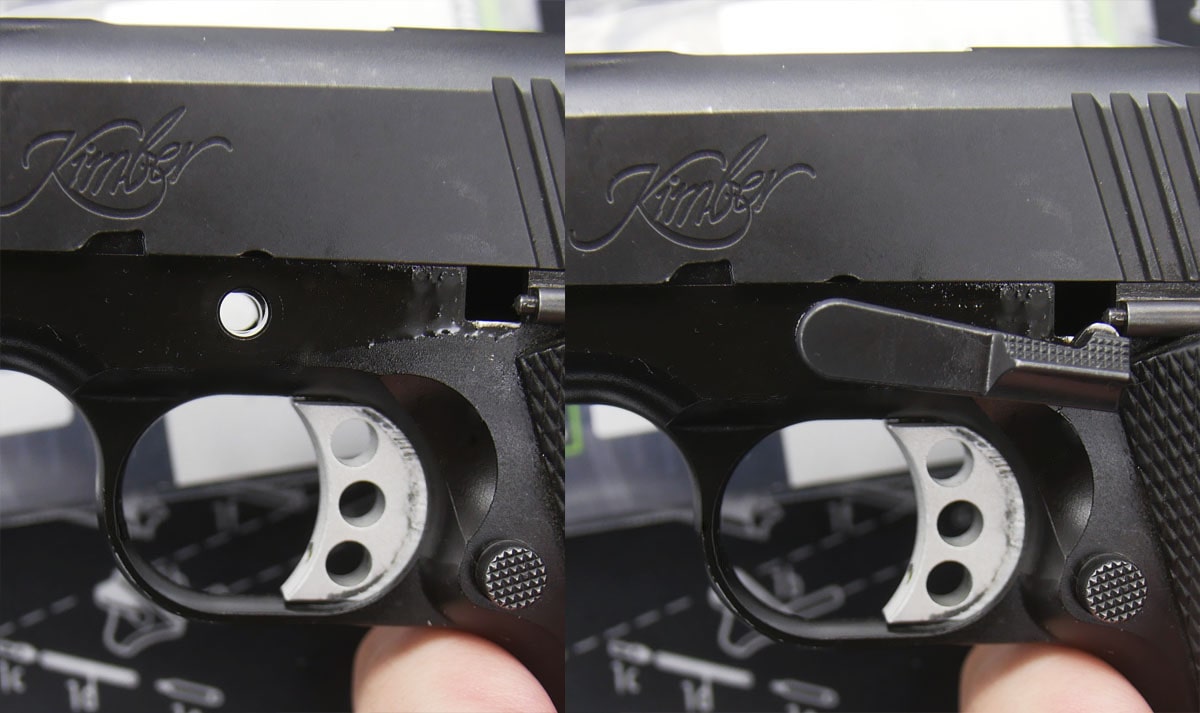
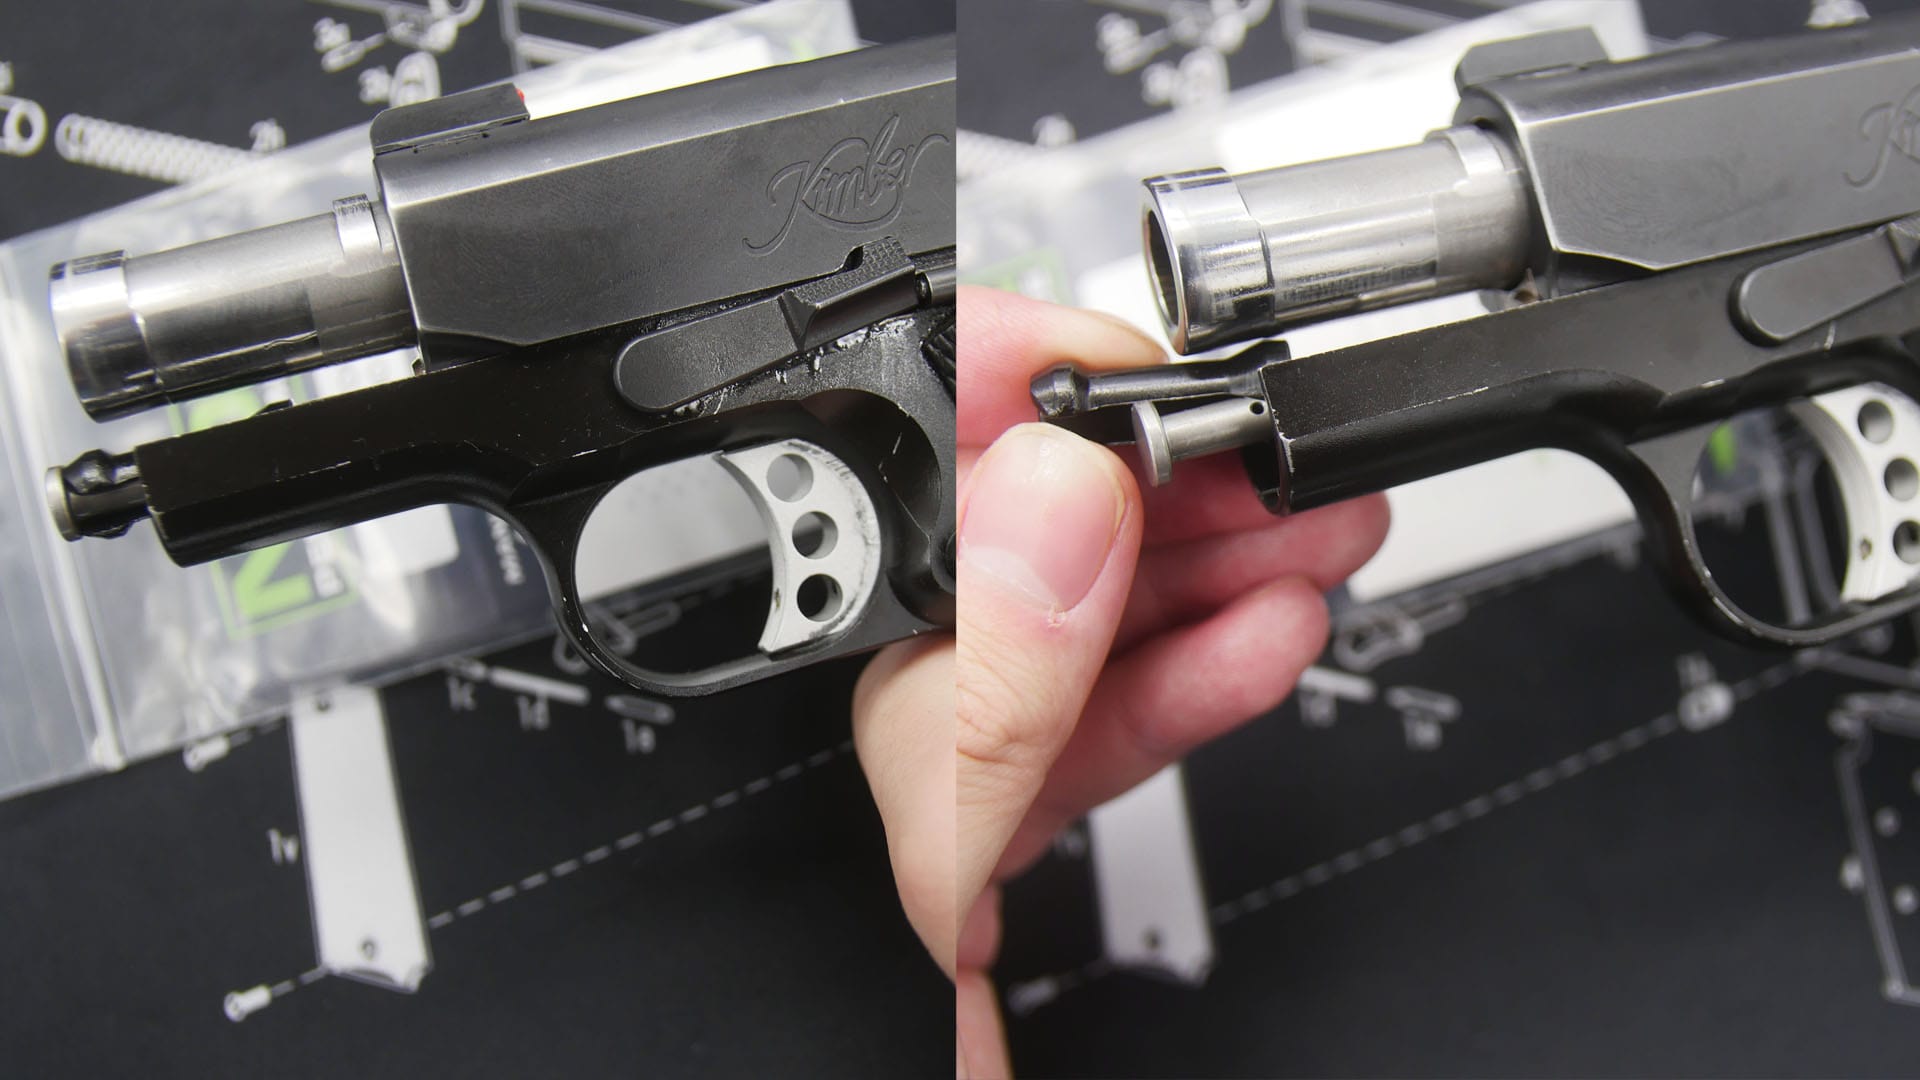
Step 4 – Remove the Take down Pin / Slide Lock
This requires you to do a few tasks at once; you need to align the slide take down notch with the take down pin / slide lock, push the button on the otherside of the frame, then pull out the slide lock.
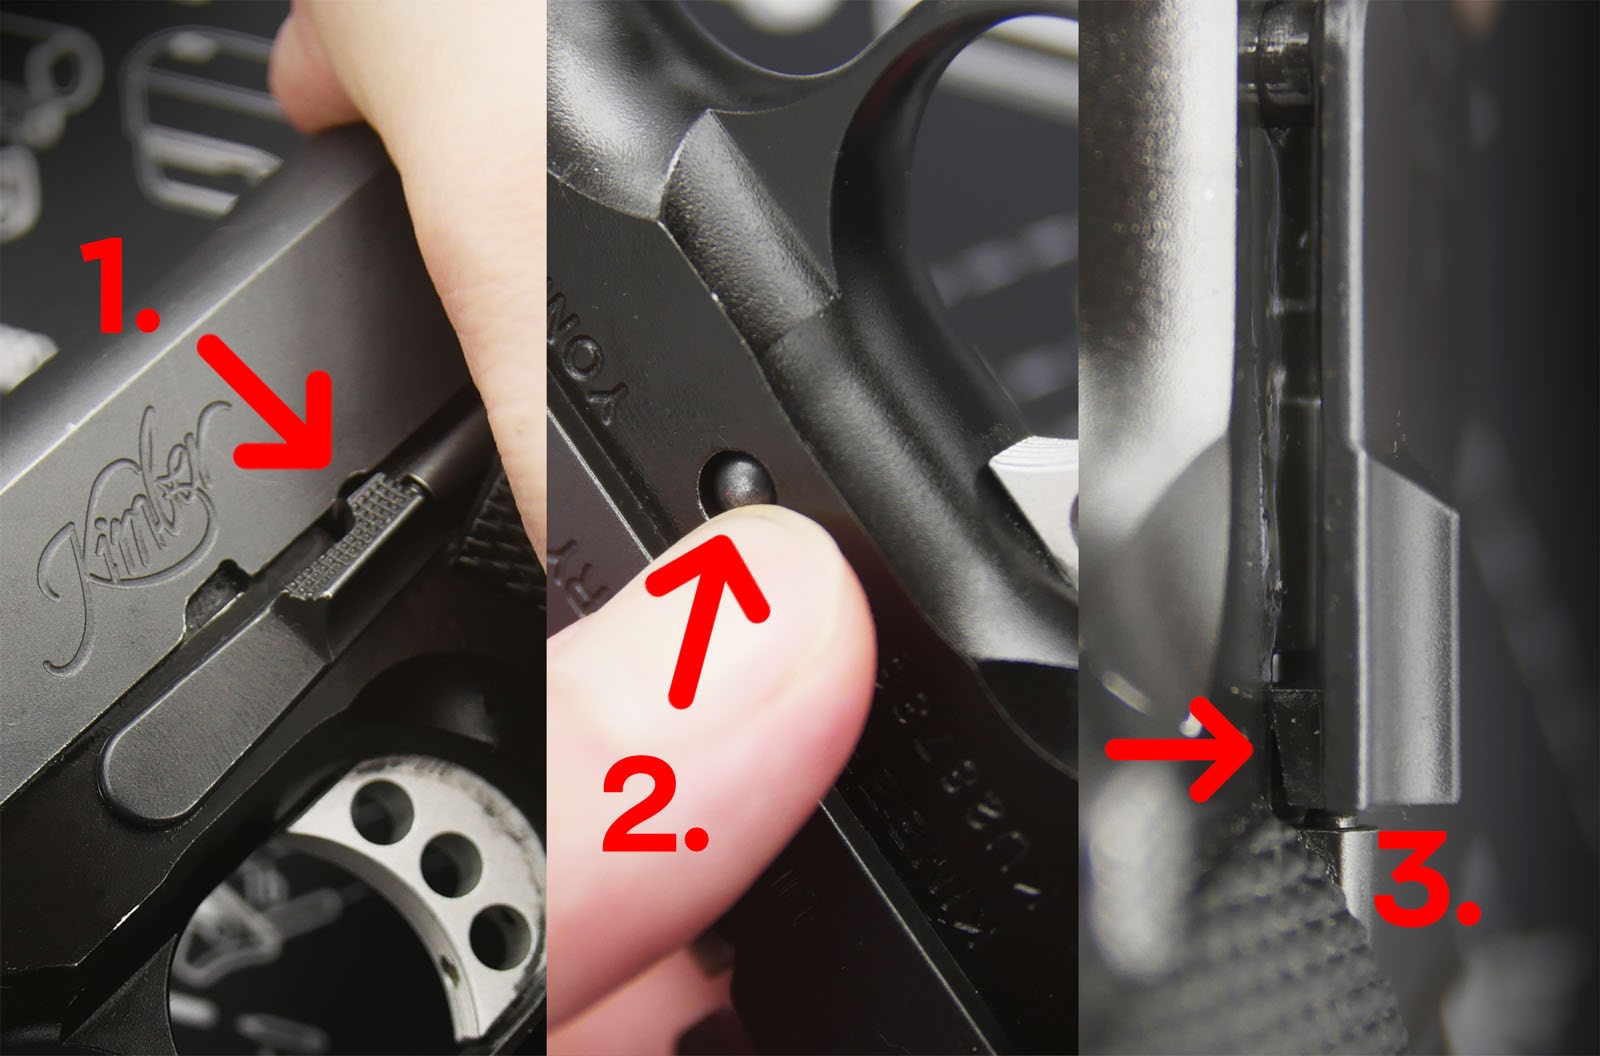
Of course, if you are using the convenient NZD tool, you don’t have to keep constant pressure on the slide to align the hole. How nice is that?
Set the slide lock to the side for now.
Step 5 – Slide off the Slide
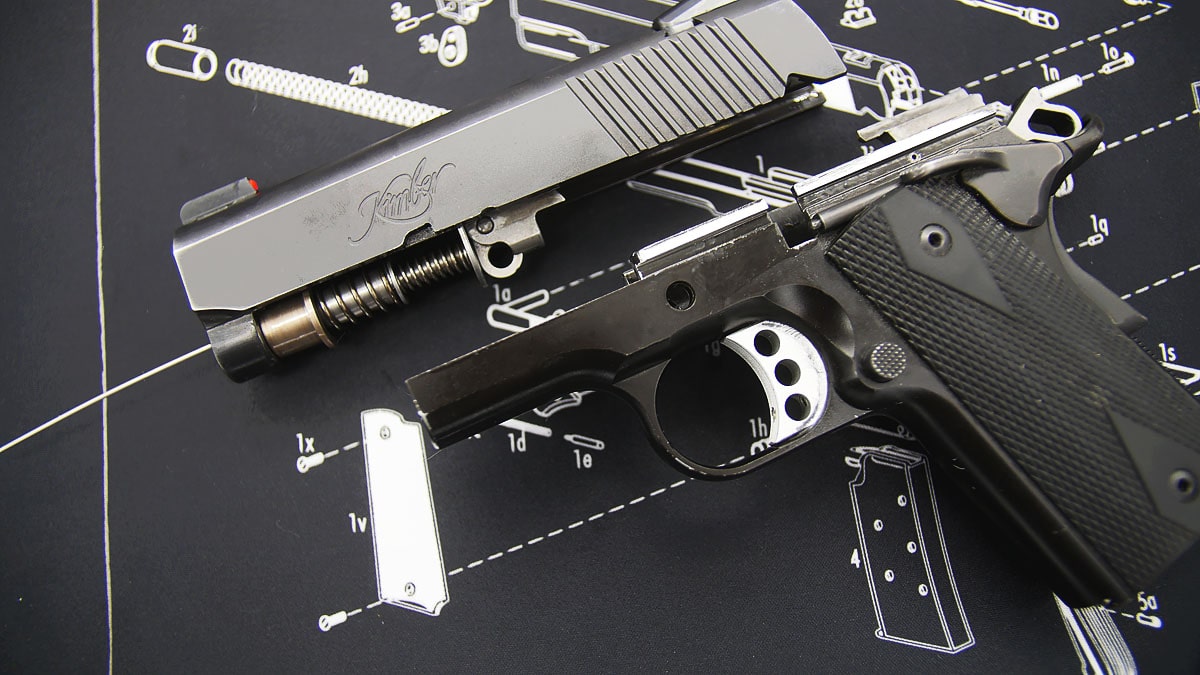
The slide should come right off. Pull the slide it forward and off the gun.
Step 6 – Remove Recoil Spring / Guide Rod
Now this is where the tools comes in handy!
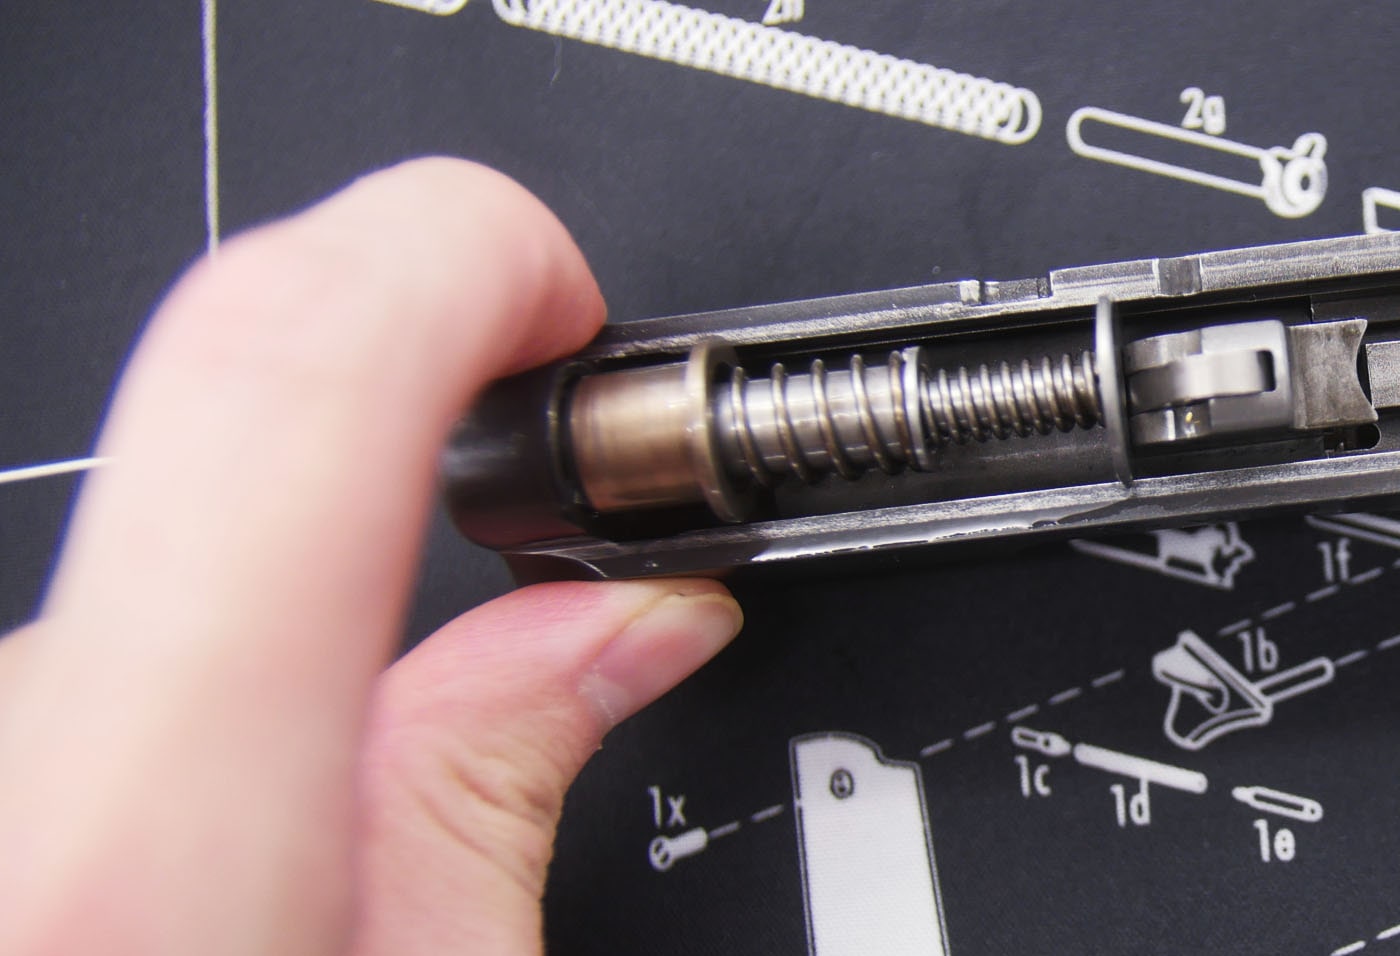
Pull the recoil spring / guide rod out the back of your gun.
Step 7 – Remove the Barrel
This might come as a surprise to those unfamiliar with 1911’s, but the barrel actually comes out the FRONT of the gun.
In order to remove the barrel, you need to first push the barrel “ring” forward and then slide the barrel out.
Now you can perform whatever cleaning you need to do on your gun.
BONUS: Speed Test
So just how fast is the NDZ tool vs. the Kimber “paperclip” tool?
It took me 20 seconds using the NDZ tool.
It took me almost 50 seconds with the “paperclip” tool.
Admittedly, with the paperclip tool there was no reason to adjust it in the beginning since it just falls out of place when you pull the slide back!
Maybe that would have saved me an extra 5 seconds?
There’s a Huge Difference!
I’m not trying to shill NDZ or anything, but seriously where the heck was this tool all these years? This thing is honestly, 100% better than the paperclip tool.
On my full sized 1911’s I use a tooless guide rod, however on a shorty like this Ultra Carry, what am I supposed to do?
Step 8 – Put the Barrel and Guide Rod Back
Reverse the steps and you’ll be good.
Step 9 – Putting the Slide Lock Pin Back
This part can be tricky.
When you put the slide back on, don’t pull it all the way back. Line it up as if the gun was in battery, then ensure the hole is clear.
Insert the slide lock partially, THEN pull the slide back fully. If you miss the barrel “ring” it’s going to be a huge pain to pull the gun apart and you might have to scratch up your frame.
Step 10 – Lock the Slide
Lock the slide back to remove your precious take down tool!
Store it in a safe place. (Both the gun and your awesome take down tool!)